Understanding the Impact of Shaky Drone Footage
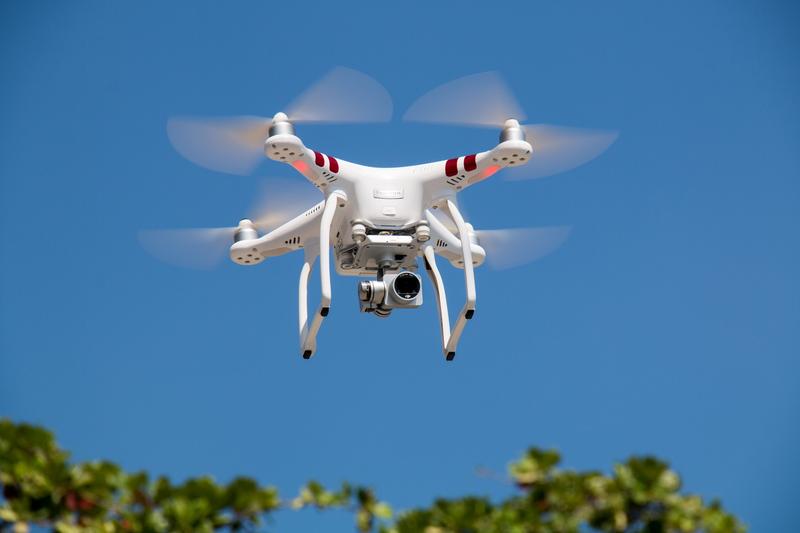
Shaky drone footage isn’t merely an aesthetic concern; it can detract from the viewing experience, causing distraction and diminishing the visual storytelling’s effectiveness. The disruption often results from various factors, such as turbulent winds, improper drone settings, or inexperienced handling. iMovie, Apple’s robust video editing software, can transform shaky footage into smooth, professional-looking sequences with user-friendly tools specifically designed for stabilization.
Utilizing iMovie to Stabilize Your Videos
iMovie’s stabilization feature offers a straightforward solution to correcting shaky drone clips. To begin the process, import your video into iMovie’s timeline. Click on the video clip that requires attention, then select the Stabilize Shaky Video option from the toolbar above. This tool intelligently analyzes your footage, compensating for the unwanted motion by adjusting the frame’s scale and rotation—just one of several settings where you can optimize the output depending on the extent of shakiness and desired end quality.
Steps to Enhance Your Drone Footage
- Make sure you film in optimal conditions: Calm days offer better control and stability.
- Understand your drone’s settings: Ensure proper calibration and familiarize yourself with stabilization features that may reduce shakes during filming.
- Utilize iMovie’s stabilization and enhancement options: Employ the Stabilize Shaky Video function as a foundational step and explore other settings such as cropping unwanted aspects, adjusting color and contrast, and enhancing audio to complement the visual transformation.
- Export and render with thought: After applying stabilization, view the final product and tweak your settings as necessary before exporting, ensuring the highest quality possible.

Additional iMovie Features that Enhance Video Quality
Besides stabilization, iMovie provides various effects and transitions that further enhance your video’s appeal. Experimentation with filters can lend a cinematic vibe to your project, while carefully selected transitions ensure the footage flows seamlessly. Don’t overlook the importance of audio editing; ambient sound or music can greatly elevate the narrative being presented.

Frequently Asked Questions
Can I use iMovie’s stabilization for any drone model?
Yes, iMovie’s stabilization feature is versatile and can be applied to footage from any drone, ensuring consistency across diverse models and brands.
Is there a limit to how much you can stabilize shaky footage?
While iMovie provides effective stabilization tools, extremely shaky footage may experience some scaling or cropping to achieve the desired smoothness. It’s best to maximize your drone’s settings to prevent excessive shake during filming.
Does stabilization affect video quality?
Stabilization can cause minimal adjustments to the video’s dimensions or sharpness, particularly if extensive correction is needed. Nonetheless, overall video quality vastly improves with this feature, making any minor trade-offs worthwhile.