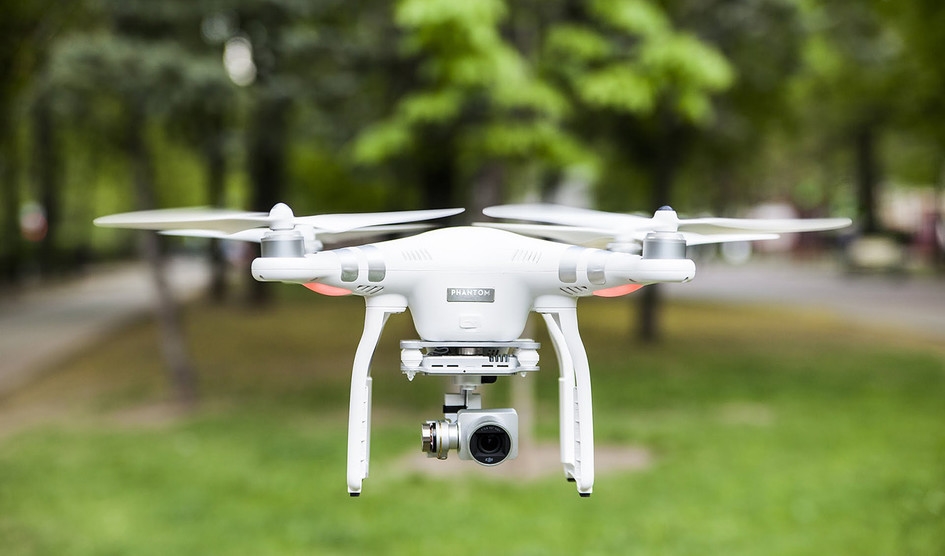
Building your own drone can be a thrilling and educational experience. Whether you’re a hobbyist looking to understand the mechanics or a tech enthusiast eager to customize a flying machine, learning to “build your own drone” is a rewarding adventure. This guide will provide you with a comprehensive walkthrough, so you can construct a drone from scratch.
Understanding the Basics
The first step to building a drone involves understanding its key components. A drone typically consists of a frame, motors, propellers, electronic speed controllers (ESC), a flight controller, a battery, and optionally a camera. The frame acts as the skeleton, providing structure and form. Motors and propellers are responsible for flight dynamics, while ESCs manage the power supplied to the motors.
Selecting Your Parts
To build your own drone, you must select each component based on your specific needs and budget. Frames can be made of carbon fiber for durability and lightweight characteristics. When choosing motors, consider their thrust-to-weight ratio, as it affects payload capacity and flight time. Propellers should be chosen based on motor specifications to optimize efficiency.
The flight controller acts as the brain of the drone. It processes input from sensors and outputs control signals to stabilize flight. Popular choices include the Pixhawk and KK2. Additionally, invest in high-quality ESCs to ensure reliable performance. Don’t forget the power source; lithium polymer (LiPo) batteries are recommended due to their energy density.
Assembly and Calibration
Once you have all the components, assembling your drone requires patience and precision. Start by securely attaching the motors to the frame and connecting them to the ESCs. Next, mount the flight controller in the center of the drone to minimize vibrations. Wiring is crucial – ensure all connections are stable and secure.
Before flying, calibration is critical. It ensures the drone responds accurately to your controls. Calibrate the ESCs first, followed by the flight controller’s sensors. Many controllers offer software for easy calibration, guaranteeing every component works harmoniously.
Enhancing Your Drone
Adding features like GPS, cameras, and other sensors can significantly enhance drone functionality. GPS enables autonomous flight and precision navigation, whereas cameras can capture stunning aerial footage. Ensure any modifications adhere to safety standards to prevent interference with flight dynamics.
Testing and Safety
Testing is an essential phase. Perform initial tests in open, clear areas to avoid obstacles. Gradually increase flight complexity as you gain confidence in the drone’s responsiveness. Safety should always be your priority. Understand local regulations concerning drone usage and respect privacy and airspace restrictions.
FAQs
Q: How long does it take to build a drone?
A: Depending on your experience level and the complexity of the drone, building a drone can take anywhere from a few days to several weeks.
Q: Do I need programming skills?
A: Basic programming knowledge is beneficial, particularly for setting up the flight controller and any added software for functions such as autonomous flight.
Q: Is it cheaper to build a drone than buy one?
A: Building a drone can be less expensive if you selectively choose parts and avoid premium features. However, pre-built drones offer convenience and sometimes advanced technology at a competitive price.