Building your own DIY drone with a camera is a thrilling and rewarding project that combines mechanics, electronics, and creativity. Many enthusiasts now prefer to create their drones, enjoying the customization and the technological satisfaction. Here’s a comprehensive guide to help you embark on this fascinating journey.
Choosing the Right Components
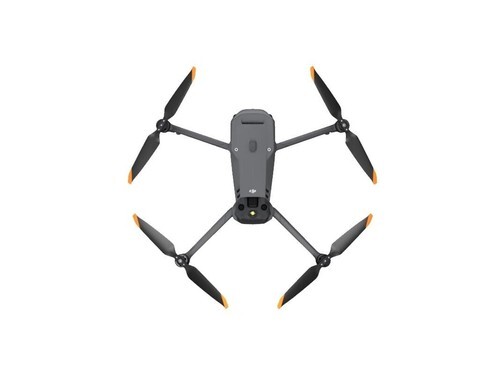
The first step in constructing a DIY drone with a camera involves selecting the right components. You’ll need a sturdy frame, powerful motors, an efficient flight controller, electronic speed controllers (ESCs), a quality camera, remote control transmitter and receiver, and a reliable battery. The choice of these elements significantly impacts your drone’s functionality and performance.
The Frame
It acts as the skeleton of your drone. Opt for lightweight yet durable materials like carbon fiber to ensure stability and maneuverability during flight. The frame comes in various configurations such as X-shaped, H-shaped, and quadcopter designs. Selecting the right one depends on your intended use and expertise.
Motors and Propellers
These components determine how your drone moves. Brushless motors are popular due to their efficiency and longevity. Pair them with propellers that match your desired speed and control, taking into account factors like size and material.
Flight Controller
The flight controller acts as the ‘brain’ of your DIY drone with camera, stabilizing flight and assisting other onboard systems. Choose one that supports multiple sensors and offers customizable firmware, giving you the flexibility needed as you adjust your drone to your specifications.
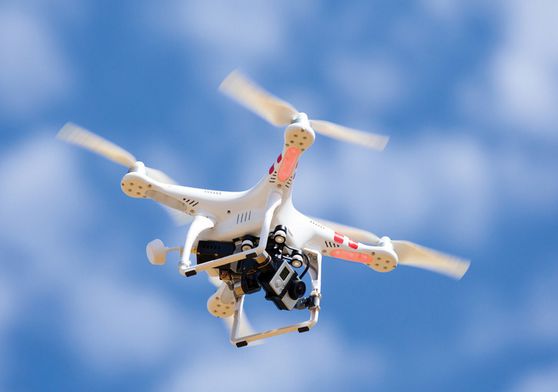
Camera Selection
When incorporating a camera, consider factors like resolution, frame rate, and stabilization features. The camera must be lightweight so that it doesn’t weigh down the drone. Depending on your purpose—be it for photography, videography, or surveillance—pick a camera that suits your needs.
Assembly Process
Once you have all the components, it’s time to assemble your drone. Begin by mounting the motors and propellers onto the chosen frame. Securely attach the flight controller and ESCs, ensuring all wires and connectors are firmly linked. Install the transmitter and receiver, then place the camera onto the gimbal for stabilization.
Connecting the components is crucial; double-check everything to prevent malfunctions. Calibrate the flight controller and test your drone without propellers to ensure all operability before your maiden flight.
Testing and Adjustments
Conduct preliminary tests in open spaces, practicing basic maneuvers before advancing to complex routines. Adjust settings on your flight controller to improve responsiveness and control. Regularly inspect each component post-flight to maintain performance and safety.
Enhancing Your DIY Drone
Elevate your drone by integrating additional features such as GPS for mapping capabilities, sensors for obstacle detection, or improved battery packs for longer flight durations. These enhancements enrich your drone’s capabilities, ensuring you maximize its potential.
Common FAQs
Can I upgrade my DIY drone?
Absolutely! Upgrading is part of the DIY experience. From cameras to additional sensors, you have a wide array of modifications available to enhance functionality.
How difficult is it to build a DIY drone with a camera?
It’s challenging but manageable with patience and motivation. Plenty of resources online provide guidance, making the process smoother and helping you troubleshoot any issues.
What are common mistakes in building drones?
Beware of inadequate frame selection, improper wiring, and ignoring component compatibility. These errors can hinder performance, but careful planning and execution mitigate risks.