Mastering the Art of Disassembly Drone Techniques
Drones have revolutionized various industries—from aerial photography to inspections and delivery services. However, despite their advancement, there inevitably comes a time when maintenance or repairs are necessary. Understanding disassembly drone can empower you to effectively maintain or upgrade your device. Here, we’ll explore practical tips and techniques for dismantling your drone with precision.
Understanding Your Drone’s Anatomy
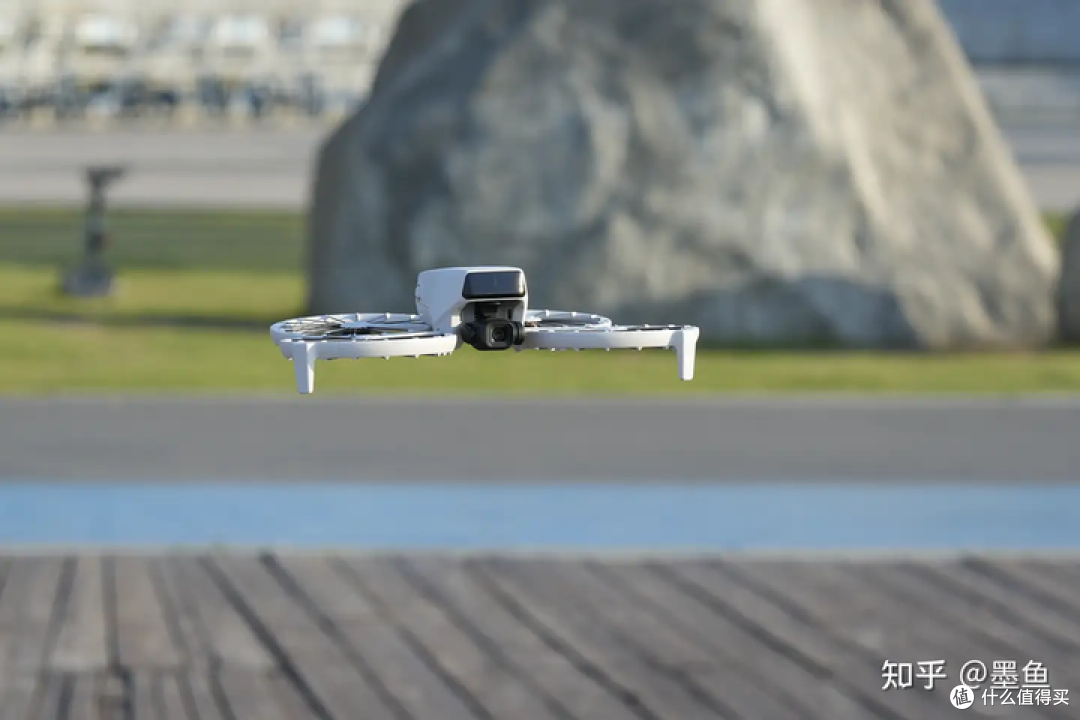
Before starting the disassembly process, it’s crucial to familiarize yourself with your drone’s structure. Most drones consist of components such as the frame, motors, propellers, camera, battery, and electronic circuits. Recognizing the configuration will help streamline the disassembly operation.
Gathering the Right Tools
Make sure you’re equipped with necessary tools such as precision screwdrivers, pliers, and specialized wrenches. A clean, spacious workspace is also essential to ensure you don’t lose any small parts during the process.
Step-by-Step Disassembly Process
1. Removing Propellers
Start the disassembly by safely removing the propellers, which are typically attached with screws and can be taken off with a Phillips head screwdriver. Handle them carefully to prevent damage.
2. Detaching the Battery

Next, locate and remove the drone’s battery. This step is crucial for safety and to avoid short circuits while you work on other components. Ensure that any connecting wires are carefully unplugged.
3. Dismantling the Frame
With the propellers and battery removed, you can focus on dismantling the drone’s frame. Using the appropriate tools, unscrew the components that hold the frame together. This process often requires patience and precision.
4. Disconnecting Electronics
The final step involves detaching the electronic parts. Carefully unplug cables and clips connecting the central processing unit and camera. Keep track of all connections to facilitate easy reassembly.