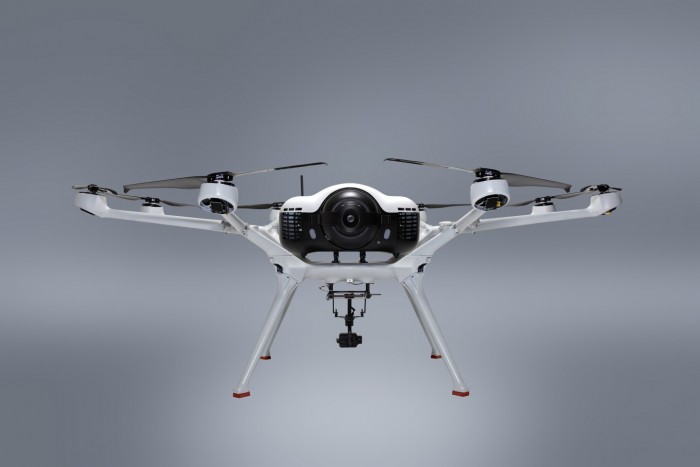
In today’s world, the excitement and potential of drones have captivated enthusiasts and professionals alike.
Understanding the Components of a DIY Drone Kit with Pixhawk
The Pixhawk is more than just a flight controller; it’s the heart of your drone, offering unparalleled control and flexibility.
When you’re assembling a DIY drone kit with Pixhawk, understanding each element ensures you’re on the right path to creating a world-class UAV.
First, the frame serves as the drone’s backbone, which must be robust yet lightweight. Carbon fiber is often preferred for its strength-to-weight ratio.
The motors and propellers provide the thrust required to lift and maneuver your drone effectively.
Choosing the right battery is crucial for optimal flight time and stability. Typically, lithium polymer batteries are favored due to their high energy density.
Installing Your Pixhawk Flight Controller
Mounting the Pixhawk properly can greatly affect the flight dynamics of your drone. Ensure it’s not only secure but also isolated from vibrations.
Next, integrate peripherals like GPS, telemetry radios, and sensors. These components help in achieving precise control and feedback.
Calibrating the Pixhawk is a pivotal step to align your drone’s orientation and ensure accurate sensor readings.
A methodical setup will govern the effectiveness of your autonomous missions.

Programming and Configuring via Mission Planner
Using software such as Mission Planner facilitates configuring your drone’s parameters, setting waypoints, and initiating autonomous flight.
Mission Planner acts as an interface between you and the drone, allowing for streamlined operations.
Explore various flight modes from manual to fully automated, adapting as per your mission’s needs.
Ensuring Safety and Compliance
It’s vital to be aware of local regulations and restrictions regarding drone operations.
Register your UAV if required and never compromise on safety protocols to ensure responsible flying.
Regular Maintenance and Upgrades
Periodic maintenance can prevent unexpected issues and prolong the life of your drone system.
Consider upgrading components such as batteries or propellers for enhanced performance.
- Firmware updates: Keep your Pixhawk updated for improved features and security patches.
- Hardware replacements: Swap older parts when necessary to ensure reliability.
FAQs: Tackling Common Queries
Here are some frequent questions and their answers:
What is the best frame size for my drone? Frame size is determined by your drone’s intended use; smaller frames are typically used for racing drones.
How do I troubleshoot connectivity issues with Pixhawk? Ensure firmware is updated and peripherals are correctly configured; use diagnostic tools available within Mission Planner.
Can I integrate additional sensors with Pixhawk? Yes, the Pixhawk supports various sensor integration for added functionalities such as obstacle avoidance and enhanced navigation capabilities.
Building a drone with a Pixhawk flight controller can be a rewarding endeavor, empowering you with the joy of innovation and the thrill of flight.
With patience and precision, your DIY drone project will not only be successful but also highly rewarding.