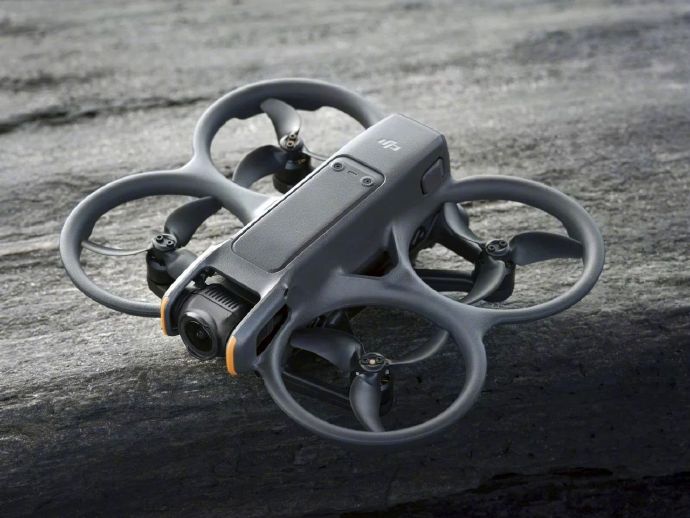
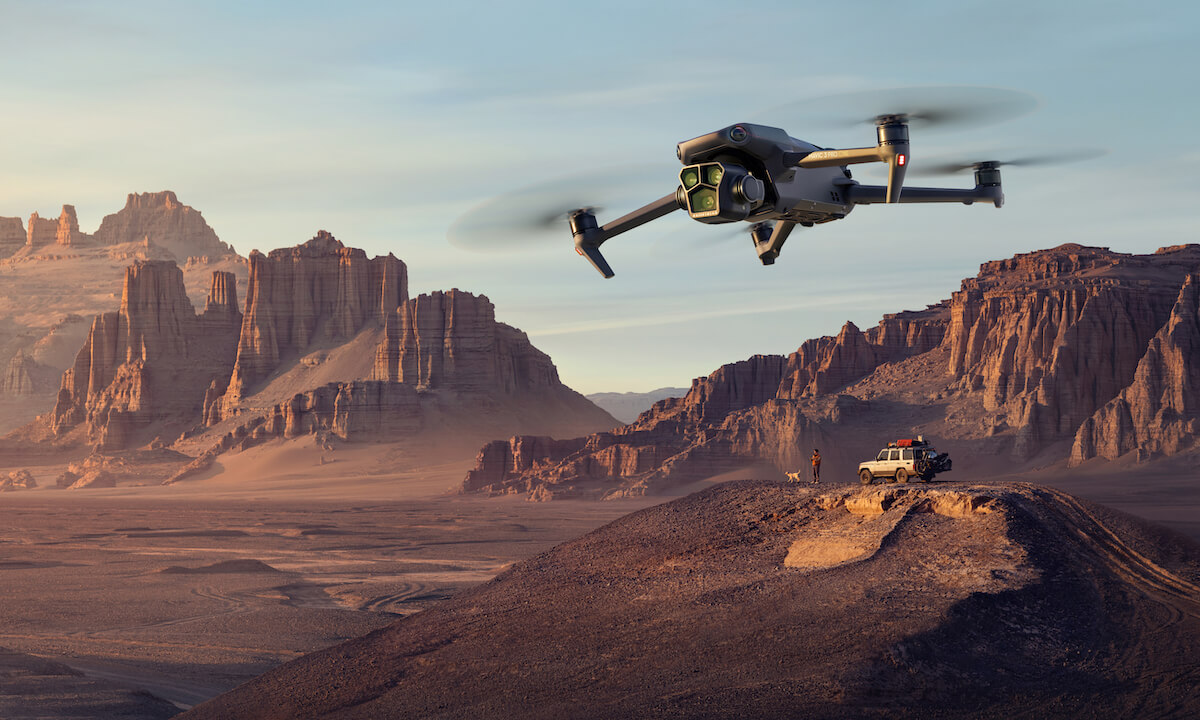
Building your own drone can be an exciting and rewarding endeavor. Not only does it give you a better understanding of the technology involved, but it also allows you to customize your drone to your specific needs. In this comprehensive guide, we’ll explore the essential steps and components required for making your very own drone from scratch. Understanding how to make a drone encompasses both technical knowledge and practical application. Let’s dive right into the fundamental steps.
Selecting the Right Frame
The frame is the skeleton of your drone and needs to be robust yet lightweight. Consider materials like carbon fiber, fiberglass, or plastic. When choosing a frame, also think about its size, shape, and capacity to hold multiple components.
Choosing the Motor
Motors are crucial since they determine how effectively a drone can lift off and navigate. Brushless motors are recommended due to their efficiency and durability. Pay attention to the KV rating, as it reflects the motor’s RPMs. A higher KV means more speed, while lower KV offers more torque.
Preparing the Electronic Speed Controller (ESC)
.jpg)
The ESC acts as a communication bridge between the flight controller and the motors. It’s essential to choose an ESC that can handle the motor’s current and voltage. Be sure to also check if the ESC is compatible with your motor’s power output.
Selecting a Propeller
Propellers come in different sizes and materials, affecting the drone’s agility and lift. Experimenting with various propellers can help achieve optimal performance. Ensure the chosen propeller matches your motor and ESC setup for maximum efficiency.
Setting Up the Flight Controller

Often seen as the ‘brain’ of a drone, the flight controller manages all electronic components and commands. Some popular options include the KK2.1.5 or Naza M series. Firmware like Betaflight can be used for better control and functionality. A successful setup requires calibration, which includes adjusting gyroscopes and accelerometers.
Choosing the Right Battery
LiPo (Lithium Polymer) batteries are favorites for drones due to their high energy density and discharge rates. Choose one with a suitable balance between capacity and weight, offering the best flight time without burdening the drone.
Assembling the Drone
This stage involves attaching the motors to the frame, connecting the ESC to the motors and flight controller, and finally mounting the propellers. Each component should be securely fixed to avoid mechanical issues during the drone’s flight.
Tuning and Testing
Before flight, run tests to ensure everything is working correctly. Check the balance, calibrate the remote controller, and perform test flights in a controlled environment. Fine-tuning your drone is essential for stabilization and performance optimization.
Common Issues and Troubleshooting

It’s plausible to encounter some challenges during the build. Drones might face issues such as a drift, poor throttle response, or connectivity problems. Through a process of elimination and patience, you can address these by examining each component.
FAQs on Building Drones
Q: Can I build a drone without technical knowledge? A: While prior knowledge is beneficial, there are plenty of resources and communities online offering guidance for beginners.
Q: How much does it cost to build a drone? A: Costs vary depending on components and specifications, ranging from a few hundred to several thousand dollars.
Q: How long does a DIY drone assembly take? A: The building process can take from a couple of days to a few weeks, contingent on your proficiency and available time.
Conclusion
Learning how to make a drone is an enriching journey blending science, creativity, and technical expertise. With this guide, you have the foundation needed to embark on crafting your personal UAV project. Remember, patience and practice are key to mastering the art of drone building.
.jpg?resize=1024,1024&ssl=1)