Creating Your Own Drone: Step-by-Step Guide for Enthusiasts
Embarking on the journey to craft your own drone is not only exciting but educational. Whether you’re a tech enthusiast or a hobbyist looking to explore the realms of aerial innovation, understanding how how to make a drone can be a satisfying endeavor. With the rise of personal drones for photography, security, and leisure, building one yourself allows for customization and deeper knowledge of its functionalities.
Getting Started: Essential Parts of a Drone
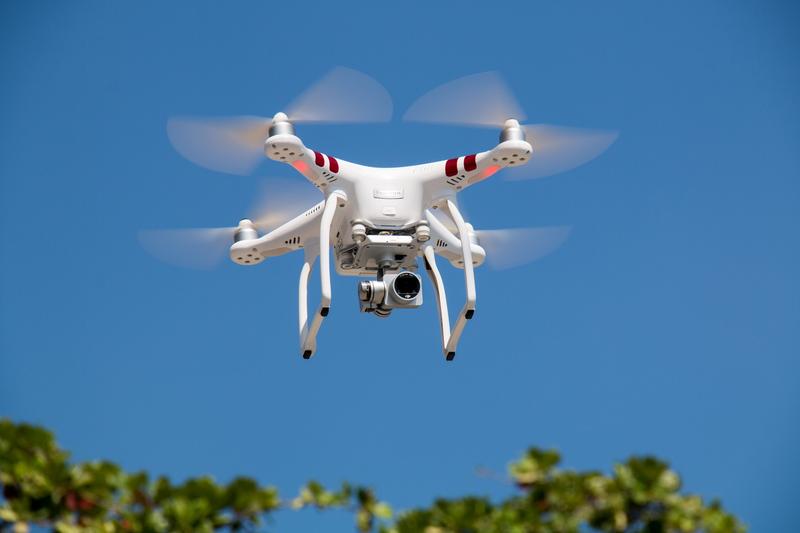
The foundation of a drone is made up of several key components, each playing a crucial role in its operation. These include:
- Frame: This forms the basic structure of the drone. Materials like carbon fiber are popular due to their strength and low weight.
- Motors: Usually, a drone requires four motors, one for each propeller. Brushless motors are preferred for their efficiency.
- Propellers: They come in pairs, two clockwise and two counter-clockwise, to maintain balance.
- Flight Controller: Acts as the ‘brain’ of the drone, processing inputs and maintaining stability.
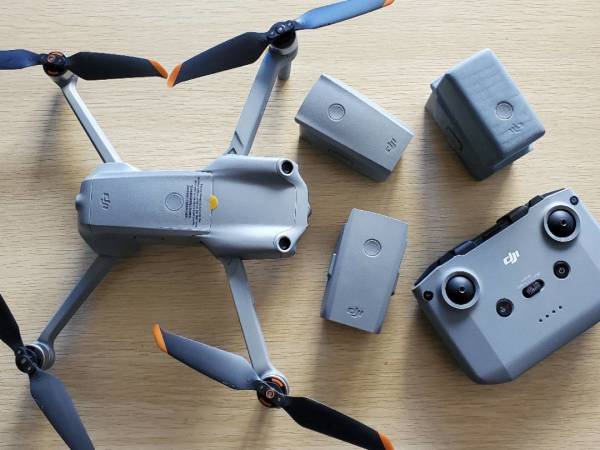
- Battery:
 Powers the motors and electronics. Lithium Polymer batteries are common for their power density.
 - Electronic Speed Controllers (ESC): Regulate the motors’ speed.
Circuitry and Wiring
Understand the wiring layout of your drone by following the schematic diagrams that come with your flight controller. The correct circuitry ensures that the commands from your remote control translate perfectly to the drone’s action.
Assembling Your Drone
Once you have all the parts, assembly can begin. It’s essential to ensure stability and proper attachment of each component. Here’s how to proceed:
- Attach the motors to the designated spots on the frame.
- Connect the ESC to each motor, ensuring wires are secure.
- Mount the flight controller in the center of the frame for balanced control.
- Connect the battery and ensure it fits snugly within the drone structure.
- Attach the propellers, ensuring they are the correct type for their respective motors.
Calibrating and Testing
Once assembled, calibration is crucial. You’ll need to connect the drone to your computer and use software specific to your flight controller to test each motor’s responsiveness. This step ensures your drone behaves as expected when airborne.
Final Checklist Before Flight
Before launching:
- Ensure all components are firmly attached and double-check the wiring.
- Test battery life and replace if necessary to avoid power failures.
- Conduct range tests in an open area to ensure remote control functionality.
Aerial Tips for Beginners
Flying a drone for the first time can be challenging. Start in an open space, away from trees and buildings. Practicing basic maneuvers like hovering, pitch, and roll will build your confidence and familiarity with the controls.
Advanced Upgrades
Once comfortable with your drone’s basic functions, consider adding GPS for navigation reliability, cameras for aerial photography, or sensors for obstacle detection. These upgrades enhance your drone’s capabilities and expand its use cases.
FAQs
- Can I build a drone without technical expertise?
- Yes, many kits are available today that simplify the process. Learning basics online can also aid in crafting a functional drone.
- What type of drone should a beginner build?
- A quadcopter is ideal for novices due to its stability and simplicity.
- How long does it take to build a drone?
- Depending on complexity, it can take anywhere from a few hours to several days. Beginners might require additional time as they learn.